


She was a Ladybug of course! Hope everyone had a fun and safe Halloween :)
 At work we had a Halloween Potluck lunch and dresses up as cowgirls on Friday. It was lots of fun and good food. Buggy decided she wanted to make everyone caramel apples and a pumpkin cake (shaped...not flavored...don't worry there's a post to come). I work with an all female staff so a lifeline of sweets is a necessity...and caffeine depending on who you ask ;)
 I had not make caramel apples since I was a kid myself and was excited to make them with my Bugs. She is getting very good at picking things up so she had fun trying to grab all the apples. I just followed the recipe on the back of the caramel squares bag. I wasn't brave enough to try making my own caramel....maybe next year?!
 She ditched me to go watch Charlie Brown and the Great Pumpkin Patch....thanks for nothing Bugs!
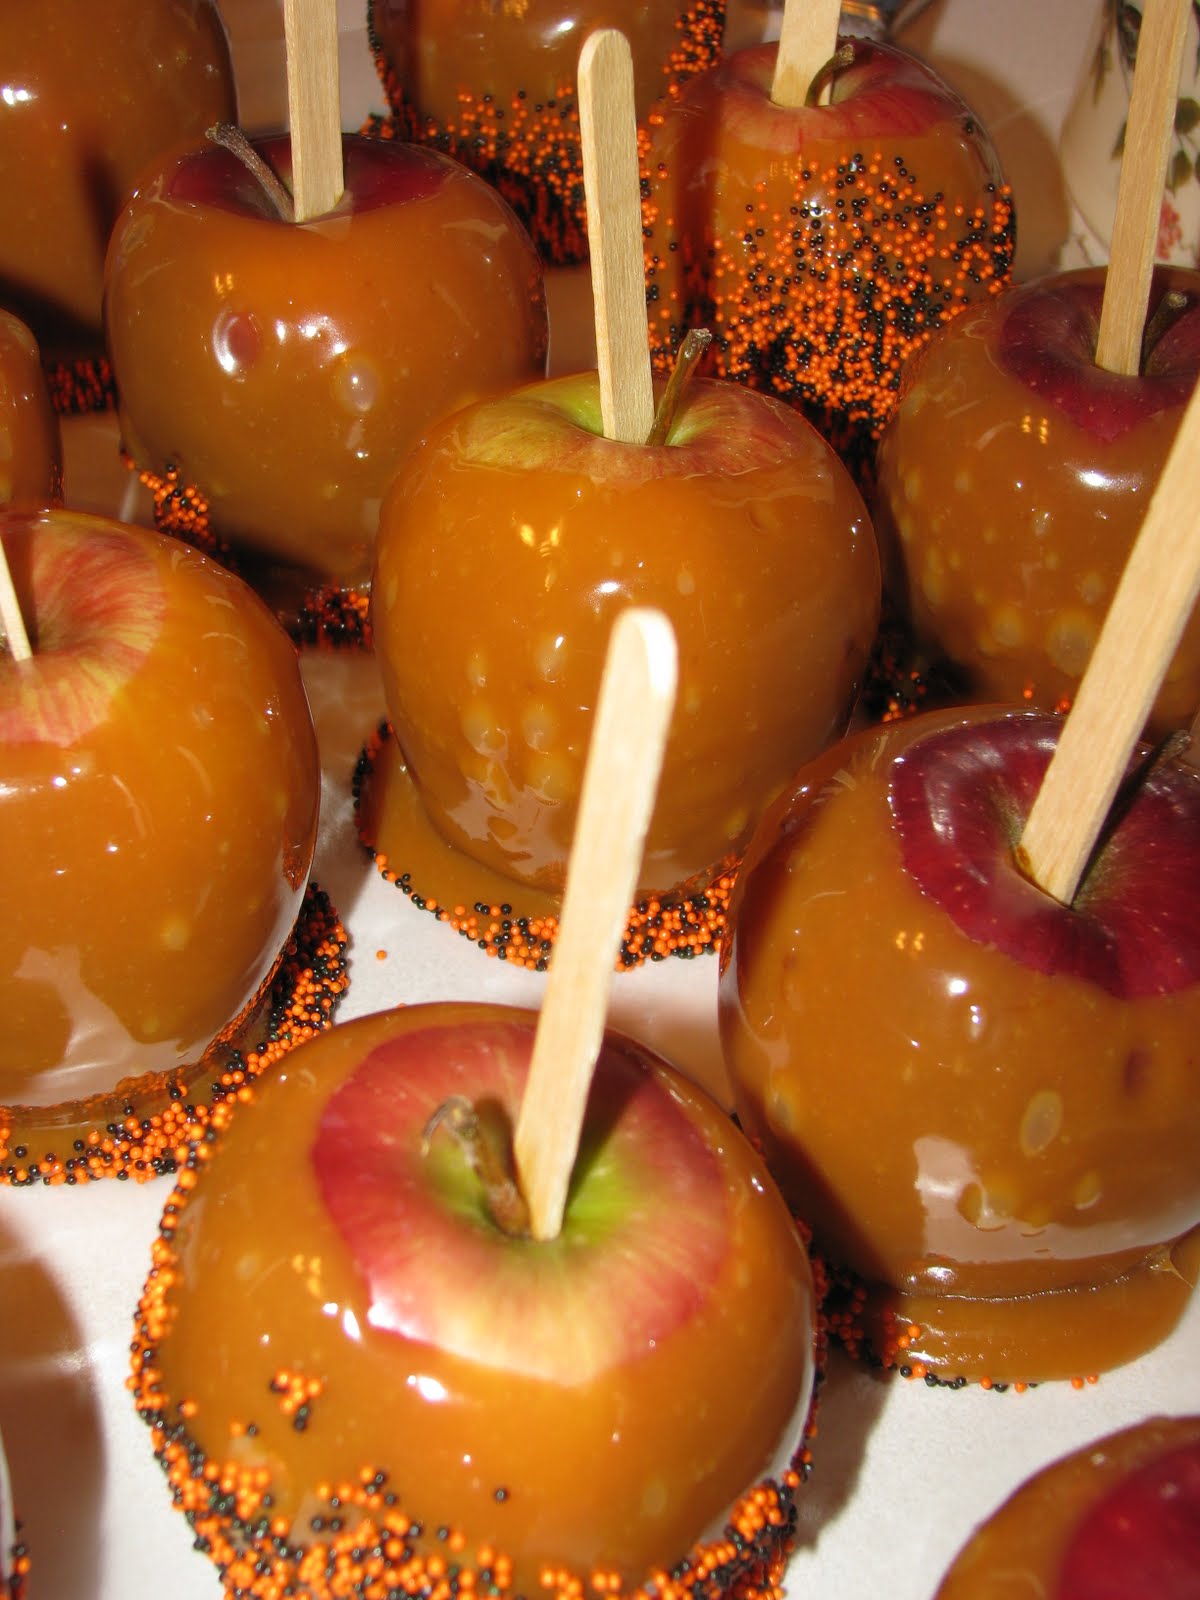
 Don't you know though that she suddenly showed back up to take pictures of all the unwrapped caramels and wanted to take credit for all the hard work ;)


Blend butter, sugars, baking soda, baking powder, vanilla and eggs until mixed. Stir in Andes baking chips and then flour.
Chill approximately 1 hour in the refrigerator. Measure out approximately 1oz of dough. Form ball and slightly flatten. Raise oven rack one level above middle and bake on non-stick baking pans.
Bake at 350F for 8-10minutes. Cool on pans for 2 minutes before removing.
Makes about 4 dozen cookies. (I must have made bigger cookies because I didn't get anywhere close to 4 dozen).
 This was my first "gingerbread" house kit. I had wanted to make one for years, but always talked myself out of it for whatever reason. This was mostly definitely on my list on things I wanted to do with Buggy. Although I know when she can really help decorate that will be when it gets really fun! I can wait to see what her design ideas are....I love the way kid's minds think.
 This was a Wilton kit that included everything you need to decorate the house for approximately $10. I thought it gave the fun of decorating without the headache that goes along with making this from scratch. They even included the cute sugar ghost on the front door. I was very thankful when I opened the box and realized that the house structure was already put together...I wasn't looking forward to that part....and all that was left to do was the decorating :) The only things I added that were not included in the kit were the candy corn and pumpkins and the green sprinkles I used for the grass. The kit showed dyed coconut, which I think would have looked better but I didn't have any so I made the sprinkles work.
 There was plenty of icing for decorating, and as you can see piping is not my Strong point and it totally played to my advantage that it was a haunted house seeing I made the icing too thin and everything looks saggy, haha
 Bald, but still delicious!


 I learned of The Cake Slice Bakers through Monica at Lick The Bowl Good. If you haven't read her blog, please do it is an awesome blog. She has really served as my inspiration to get back in the kitchen and use my love for baking to help heal my soul and connect with my sweet girl Isa....aka Buggy Girl, hence the blog name ;)
Heat oven to 350F. Grease the inside 9x5 loaf pan eith non-stick cooking spray and dust with flour (We made cupcakes of course!)
Combine flour, baking soda, baking powder, cinnamon, salt, cloves and nutmeg in a medium mixing bowl.
Combine butter and sugar in large mixing bowl with an electric mixer on medium-high speed until fluufy, for 3 minutes, scraping down the sides of the bowl 1-2 times as needed.
Turn mixer on low add one egg at a time, scraping down sides of the bowl after each addition. Stir in pumpkin puree and vanilla. Stir in milk.
Turn the mixer on low speed and add flour mixture 1/2 cups at a time, scraping down sides of bowl after each addition. Stir in chocolate chips and walnuts.
Scrap batter into loaf pan, smoothing top with a rubber spatula (or fill cupcake liners 2/3 full).
Bake cake until top is firm to touch and inserted toothpick comes out clean. 55minutes-1 hour (cupcakes took approximately 22 minutes). Let cake cool in pan for 5 minutes, then turn in out onto wire rack to cool.
Store uneaten cake covered at room temperature for 3 days or in the refrigerator covered with plastic wrap for 1 week.

